· Embed · 8 min read
How to Embed the Templated Editor in Your Web Application
Learn how to integrate a visual drag-and-drop editor to your web application with a single line of code

Introduction
In today's digital landscape, providing rich document editing capabilities can significantly enhance your web application's value. However, building a full-featured editor from scratch requires substantial development resources and ongoing maintenance.
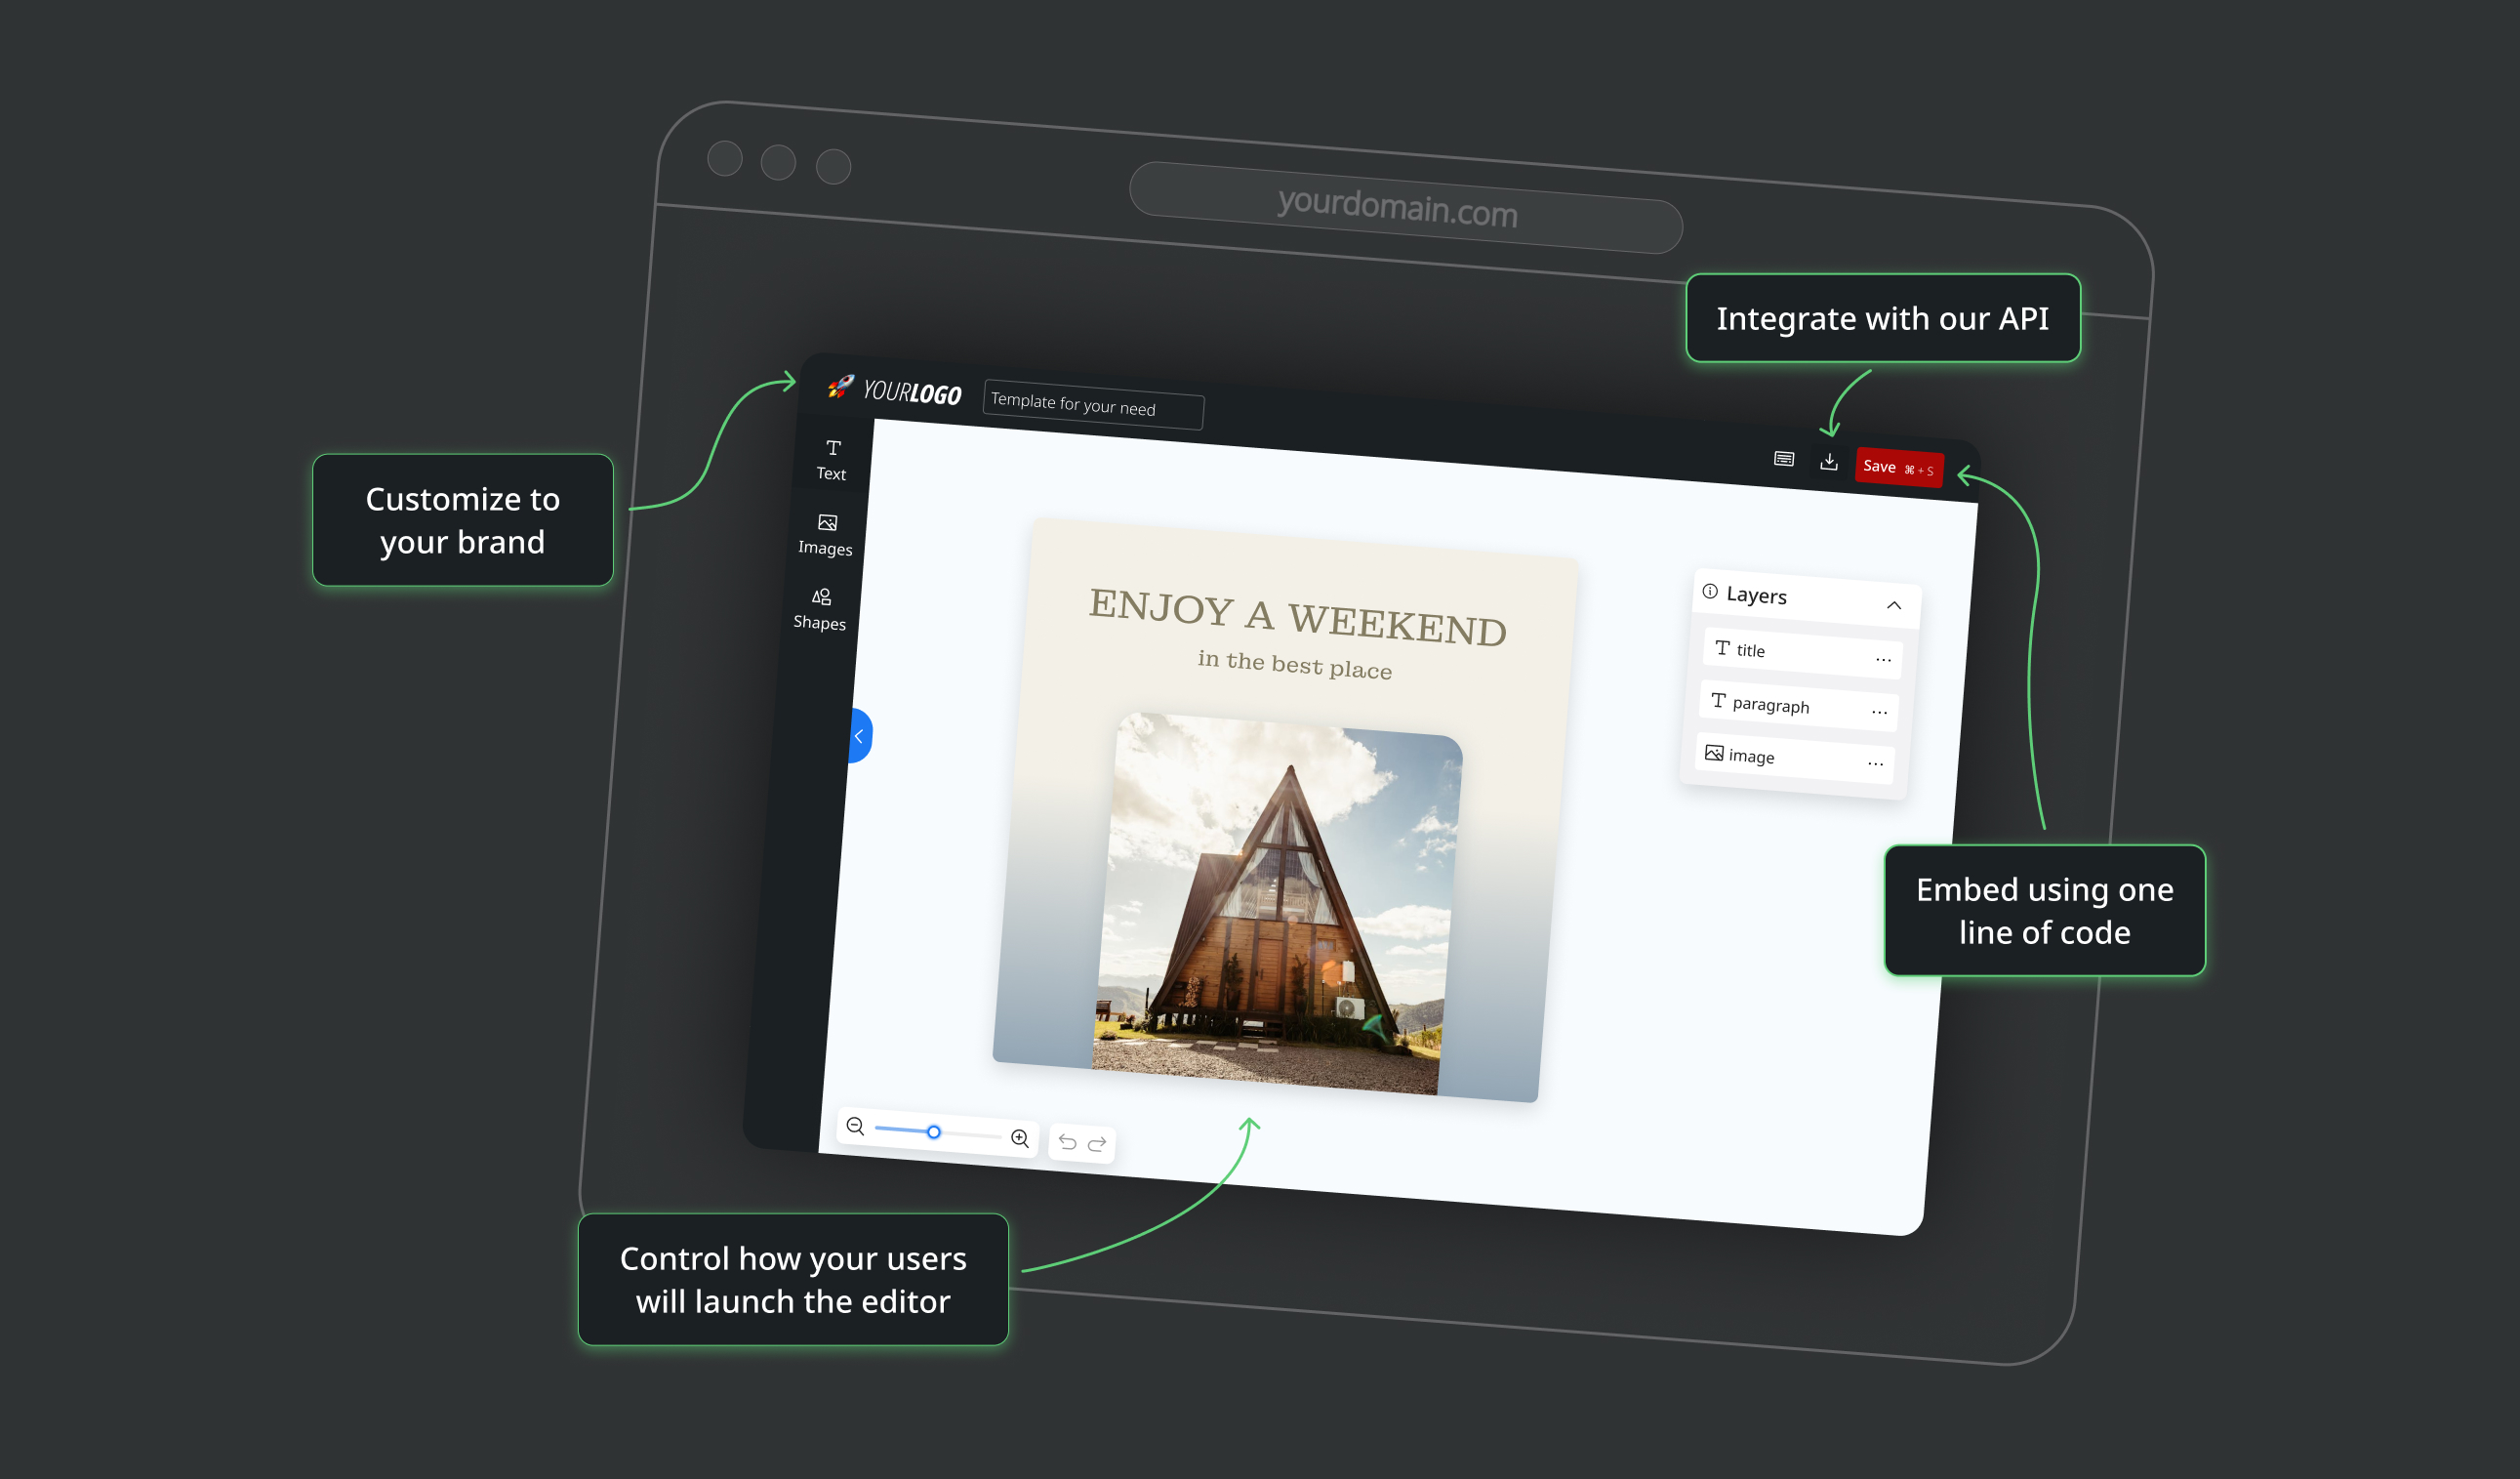
Templated's embeddable editor offers a solution that allows you to integrate a powerful design editor directly into your website or application with minimal effort.
Whether you're building an AI-powered app, managing digital content or have print services, you can easily add the Templated Editor to your application.
This tutorial will guide you through the process of embedding Templated's editor, customizing its appearance to match your brand, and configuring advanced features.
The best part? No extensive HTML or JavaScript experience is required to implement this solution. Whether you're a developer working with code or using no-code platforms like Bubble, you can easily add the Templated Editor to your application.
Prerequisites
Before we begin, make sure you have:
- A Templated account (sign up at here if you don't have one)
- Access to your website's HTML code or a no-code platform like Bubble, Webflow, or Wix
- Basic understanding of your platform's embedding capabilities
- For production use, a Scale plan subscription (you can use it on localhost for development with any plan)
Setting Up Your Embed Configuration
Step 1: Access the Embed Setup Page
Log in to your Templated account and navigate to the Embed setup page. This is where you'll configure how the editor appears and functions when embedded in your application.

Step 2: Configure Basic Settings
The embed configuration page allows you to customize various aspects of the editor:
- Domain Configuration: Enter the domain where you'll be embedding the editor. This is a security measure to ensure your editor can only be used on authorized websites.
https://yourdomain.com
For development purposes, you can enable the "Allow development environment" option to test the editor on localhost.
Branding: Upload your logo to replace the Templated logo in the editor. The recommended size is 100x100px.
Logo Link (optional): If you want to redirect users to a specific page when they click on your logo, you can specify a URL here.
https://yourdomain.com/dashboard
- Accent Color: Choose a color that matches your brand's color scheme. This will be applied to buttons, links, and other UI elements.

Step 3: Configure User Permissions
Decide what actions users can perform within the editor:
- Allow Rename: Toggle whether users can rename templates
- Allow Save: Toggle whether users can save templates
- Allow Download: Toggle whether users can download templates
Step 4: Choose a Launch Mode
Select how the editor should behave when it first loads:
Account Templates: Shows a modal where users can select from templates in your account
- Create Copy: Creates a new template based on the selected one
- Create Clone: Creates a clone of the selected template that won't appear in your dashboard
- Edit Original: Directly edits the selected template and changes will be reflected in your account's templates
Template Gallery: Shows a modal with Templated's Template Gallery
Blank Template: Starts with a blank canvas so users can create a new template from scratch
Step 5: Save Your Configuration
Click the "Save Configuration" button to apply your settings. Once saved, you'll receive an embed ID that you'll use to integrate the editor into your website.

Adding the Editor to Your Website
Now that you've configured your embed settings, it's time to add the editor to your website.
Basic Implementation
The simplest way to embed the editor is by using an <embed> tag.
You can find and copy the embed code in the Embed Setup page after saving your configuration.
It looks like this:
<embed
  src="https://app.templated.io/editor?embed=YOUR_EMBED_ID"
  width="100%"
  height="100%"
/>

Responsive Implementation
To ensure the editor works well on different screen sizes, you might want to wrap it in a responsive container:
<div style="position: relative; width: 100%; height: 0; padding-bottom: 56.25%;">
  <embed
    src="https://app.templated.io/editor?embed=YOUR_EMBED_ID"
    style="position: absolute; top: 0; left: 0; width: 100%; height: 100%;"
  />
</div>
This creates a container with a 16:9 aspect ratio that will maintain its proportions on different screen sizes.
No-Code Integration
One of the biggest advantages of Templated's embed solution is how easily it integrates with no-code platforms. You don't need extensive HTML or JavaScript knowledge to add powerful document editing capabilities to your application. This also makes it an ideal tool for website design companies that create customized web experiences for clients.
Embedding in Bubble.io
Bubble.io is a popular no-code platform that allows you to build web applications without writing code. Here's how to embed the Templated Editor in your Bubble app:
- In your Bubble editor, add an HTML element to your page
- In the HTML element's properties, paste the embed code:
<embed
  src="https://app.templated.io/editor?embed=YOUR_EMBED_ID"
  width="100%"
  height="100%"
/>
- Adjust the HTML element's size to fit your design
- To make it responsive, you can use Bubble's responsive engine to adjust the element's size based on screen width
Embedding in Other No-Code Platforms
The process is similar for other no-code platforms:
- Webflow: Add an Embed element and paste the embed code
- Wix: Add an HTML iframe element and paste the embed code
- Softr: Use the Embed HTML component and paste the embed code
- Framer: Add an HTML embed component and paste the embed code
The simplicity of the embed code (a single HTML tag) makes it compatible with virtually any platform that supports HTML embedding.
I have so many ideas running through my head right now of use cases I can do with your API using Bubble.io.
— Jesus Vazquez, Founder of Hustling Labs
Advanced Features
Webhook Integration
To receive notifications when your users create, save or download templates from your embedded editor, you can set up a webhook:
- In the Advanced Settings section, enter your webhook URL:
https://your-webhook-url.com/templated-events
- We will send POST requests to this URL with information about user actions, including:
- Action type (save, download)
- Template data
- User metadata (if provided)
Passing Metadata
You can pass custom metadata that will be included in webhook calls, making it easier to associate editor actions with your application's users or contexts:
<embed
  src="https://app.templated.io/editor?embed=YOUR_EMBED_ID&metadata=eyJ1c2VySWQiOiIxMjM0NSIsImVtYWlsIjoiZXhhbXBsZUBleGFtcGxlLmNvbSJ9"
  width="100%"
  height="100%"
/>
The metadata parameter must be a json object and then Base64-encoded. Here's how to generate it:
const metadata = {
  userId: "12345",
  email: "example@example.com"
};
const encodedMetadata = btoa(JSON.stringify(metadata));
console.log(encodedMetadata);
// Output: eyJ1c2VySWQiOiIxMjM0NSIsImVtYWlsIjoiZXhhbXBsZUBleGFtcGxlLmNvbSJ9
Opening a Specific Template
You can launch the editor with a specific template by including the template ID in the URL:
<embed
  src="https://app.templated.io/editor/TEMPLATE_ID?embed=YOUR_EMBED_ID"
  width="100%"
  height="100%"
/>
Replace TEMPLATE_ID with the ID of the template you want to open.
Creating Template Clones
To launch the editor with a clone of a specific template (which won't appear in your dashboard) you can add the clone parameter to the URL:
<embed
  src="https://app.templated.io/editor/TEMPLATE_ID?embed=YOUR_EMBED_ID&clone=true"
  width="100%"
  height="100%"
/>
Pre-filling Template Data
You can pre-populate template layers with custom data by passing a json object and then Base64-encoded in the layers parameter:
// Define your layer updates
const layers = {
  "heading-1": {
    text: "New Heading",
    color: "#FF0000",
  },
  "profile-image": {
    image_url: "https://example.com/image.jpg"
  }
};

// Encode the layer data as a base64 string
const encodedLayers = btoa(JSON.stringify(layers));

// Create the URL with layer data
const url = `https://app.templated.io/editor/TEMPLATE_ID?embed=YOUR_EMBED_ID&layers=${encodedLayers}`;
Then use this URL in your embed code:
<embed
  src="https://app.templated.io/editor/TEMPLATE_ID?embed=YOUR_EMBED_ID&layers=ENCODED_LAYERS"
  width="100%"
  height="100%"
/>
You can find more information and some guiding on how to use these advanced features and integrations on the bottom right section of the Embed page:

Troubleshooting
Editor Not Loading
If the editor isn't loading, check the following:
Domain Configuration: Ensure the domain you're using matches the one you configured in the embed settings.
Embed ID: Verify that you're using the correct embed ID.
Console Errors: Check your browser's developer console for any error messages.
Cross-Origin Issues
If you're experiencing cross-origin (CORS) issues:
- Make sure your domain is correctly configured in the embed settings.
- If you're testing locally, ensure the "Allow development environment" option is enabled.
Webhook Not Receiving Events
If your webhook isn't receiving events:
- Verify the webhook URL is correct and accessible from the internet.
- Check your server logs for any errors in processing the webhook requests.
- Ensure your server is properly responding to the webhook with a 200 OK status.
Conclusion
Embedding the Templated editor in your web application provides your users with powerful design capabilities without the need to build and maintain a complex editor yourself. By following this guide, you've learned how to:
- Configure your embed settings
- Add the editor to your website or no-code application
- Customize its appearance and behavior
- Implement advanced features like webhooks and pre-filled templates
The beauty of Templated's embed solution is its simplicity and flexibility. Whether you're a developer comfortable with code or a creator using no-code tools like Bubble, you can easily integrate a professional-grade document editor into your application with minimal effort.
Templated is a game-changing innovation in programmatic design! So many use cases here, this a better option than Canva because they make their API private to enterprise customers only. Can't wait to see what the future has in store for this amazing company.
— Antonio Romero from CXGO
If you have any questions or need further assistance, please don't hesitate to contact us via chat or email us at support@templated.io.
Ready to get started?
Sign up for Templated and begin integrating the editor into your application today!


