· Tutorials · 8 min read
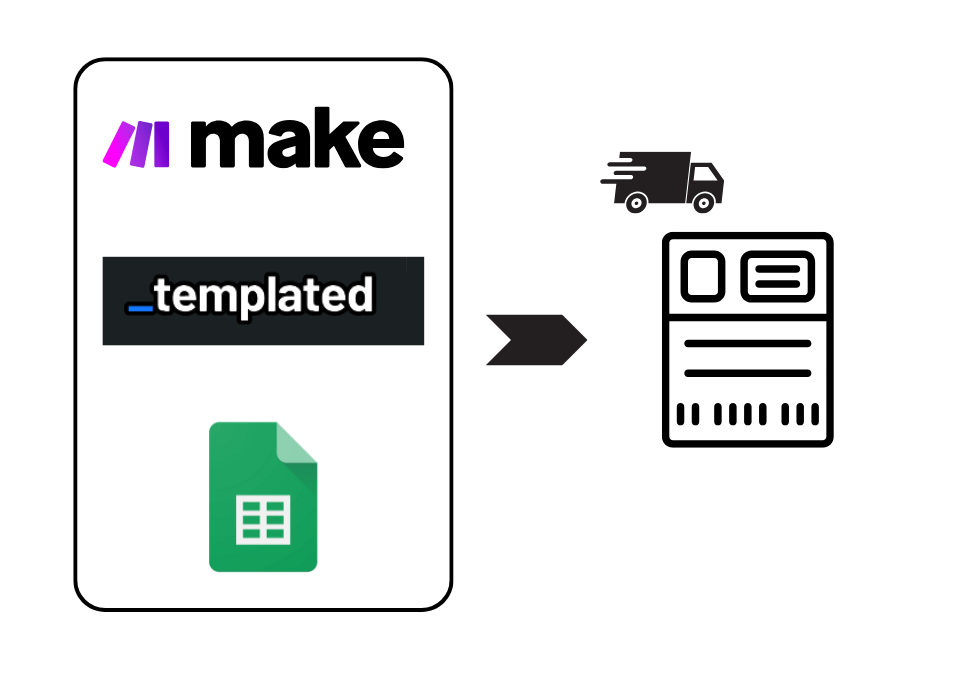
Automate Shipping Label with Make.com and Templated
Learn how to streamline your shipping process using Make.com and Templated. This guide offers a simple, step-by-step method to automate the creation and management of shipping labels, saving time and reducing errors.
If you run an online store — whether you’re selling handmade candles, custom apparel, or subscription boxes — there’s one thing you probably know too well: shipping labels are a pain.
Every order means jumping between tabs, copying customer info, pasting it into your label tool, and hoping nothing gets messed up along the way.
It’s slow, repetitive, and totally avoidable.
Because yep, you can automate the whole thing.
With Make.com and Templated, you can set up a flow where every new order triggers a ready-to-print shipping label. No manual work. No delays.
In this guide, we’ll show you exactly how to set this up from scratch. And at the end, you’ll get a downloadable Make.com Scenario blueprint you can import and use right away.
Let’s make shipping labels a thing not to worry about.
If you want you can also watch our tutorial on YouTube:
What You’ll Need
Step 1: Get Your Templated API Key
Templated offers a PDF & Image Generation API to help you automate shipping labels. You can choose one of our existing templates or design one yourself easily in our editor.
Or you can use AI to generate your base template for automation.
Sign up for your account & get 50 credits to test the API.

Once you’re signed in, you will land on the dashboard where you can find the “API Integration” tab on the left side.
Here is your API key, which we will use in your automation. Keep it handy.

In a free account, you will get 50 credits, perfect for testing. As needed you can upgrade at any time.
Step 2: Create or Choose a Shipping Template
Once you’re in, go to the Template Gallery and open the Shipping Label category.

Choose a template that fits your needs and click on “Customize Template”.

This will open the template in our editor, with a drag-and-drop interface, and editable text, you can have full control over your PDF.
Edit the design to match your brand or shipping requirements. You can change fonts, colors, text, and layout freely.
On the right-hand side, you’ll see a panel showing all the design layers. These represent different elements of shipping labels.

Click on any layer you want to automate and rename it with a clear, descriptive title. This helps later when linking it with data from Make.com.
Make sure all the fields you plan to automate are labeled properly, so you can easily map data into them during the automation setup.
Step 3: Prepare Your Google Sheet
Open a new Google Sheet.
Add the column headers exactly like shown in the screenshot: (If there’s any other info you want to automate add that in the sheet too.)

Start entering your order data in each row. Every row should represent one order, with all the details filled in. Follow the same structure and format shown in the image for consistency.
Review the sheet to make sure there are no blank fields or incorrect values. Typos or missing data can break the automation later.
Rename the sheet tab something like order details or input. So it’s easy to reference when you set up the automation in Make.com.
Also, create one more tab in the same sheet. This is where your shipping labels will be generated automatically. Name this tab something like “Shipping Labels” or “Output” — whatever works for you. (In this tab, add columns like Order ID, Shipping Label, and optionally Name, so it’s easier to recognize which label belongs to which order.)

Keep this sheet open — you’ll need the link and structure when connecting it to your Make.com scenario.
Step 4: Create a Scenario on Make.com
Go to Make.com and create an account if you don’t already have one.
Once you’re logged in, click on “Create a new scenario” from your dashboard.

You’ll see a blank canvas with a “+” icon in the center. This is where your automation starts. Give this Scenario a name.

Click the “+” icon to begin building your scenario. Each step in your automation is called a module — you’ll be connecting these to create your full shipping label workflow.
Step 5: Add Module “Watch New Rows”
This module fetches rows from your Google Sheet so each data field can be mapped directly into your shipping label template during automation.
After clicking the “+” icon, choose Google Sheets as your first module.
Select the “Watch New Rows” module to pull data from your sheet.

Connect your Google account if you haven’t already.
Set the Search Method to “Search by path”.
Under Drive, pick “My Drive.”
In Spreadsheet ID, paste the full name of your Google Sheet.
For Sheet Name, type the name of the tab where your data lives (like “Input” or “Orders”).
Set Table contains headers to “Yes.”
Define Row with headers as A1:Z1 so it knows where your headers are.
Set the Limit — this controls how many rows it processes per cycle (start with 5–10 for testing).
Click Save to confirm the setup.
Step 6: Add Module “Templated”
Click the “+” icon and search for Templated.
From the list, select “Create a Render (Image or PDF)”.

A popup will appear. First, create a connection by adding your Templated API key, you will find this key in your templated dashboard. Once connected, hit Save.

In the Template ID field, select the template you customized earlier. This dropdown will automatically show all templates saved under your account — including the one you edited in the Templated editor.

Now comes the important part — adding layers.

In the Layers Name field, type the exact name of the layer as it appears in your Templated editor. (It must match exactly — case-sensitive and all.)

In the Text field, select the matching column from your Google Sheet that holds the value for that layer.

Above shown in screenshot you have to map each layer according to the sheet and the layer name given in the editor.
Scroll down, repeat the process for all the layers from your Input tab one by one, and when done, click Save.
Step 7: Add Module “Update a Row”
Click the “+” icon, search for Google Sheets, and select “Update a Row.”

This module will write the generated shipping label URL back into your Output tab — right next to the matching order ID — so everything stays organized and trackable.
Now fill the details:

Here’s what goes in each field:
Connection — Your Google account is already connected.
Search Method — Set to “Search by path” to locate the sheet directly.
Drive — Select “My Drive.”
Spreadsheet ID — Choose your working sheet (same one used earlier).
Sheet Name — Set this to Output (this is the tab where shipping labels will be saved).
Row number — Use 1. Row number from the earlier module to make sure the label is added to the correct row.
Table contains headers — Keep this as “Yes.”
In the Values section:
Order ID (A) — Maps the existing order ID for reference.
Shipping Label (B) — This maps the Render URL from the Templated module, placing the direct link to the generated shipping label into the sheet.
8. Save and Test the Scenario
In your scenario editor, click the Save button at the bottom left of the screen. This locks in all your module settings.

Now, right-click on the first module (the one connected to Google Sheets — Watch new rows).
From the menu, select Choose where to start. A popup will appear.
Scroll through the list and select the first row of your sheet (excluding headers) — this tells Make.com where to begin processing data.
Click OK to confirm your starting point.
Now hit Run once in the bottom-left corner of the scenario editor.
9. Check Automated Shipping Labels in Google Sheet
Head back to your Google Sheet and open the “Output” tab (or whatever you’ll name it).
Here, you’ll get each Order ID matched with its corresponding Shipping Label URL, just like in the screenshot.

Click on any of the links to view the generated labels and verify that the correct data has been inserted automatically.
Here’s the shipping label from the first row — it means everything worked just fine. You can check a few more to confirm the automation is running smoothly and everything is coming out clean.

Get The Blueprint
No need to build everything from scratch — we’ve got you covered. You can download the Make.com scenario blueprint from the link below. Just create your Google Sheet and map everything exactly as shown in the tutorial. Then hit run and let the automation do its thing.
All you need to do is:
Go to Make.com and create a new scenario.
Click the arrow next to the “Create new scenario” button and select Import Blueprint.
Make the necessary changes — add your connections, set up the Google Sheet, and adjust the template in the editor as needed.

Conclusion:
And that’s a wrap! Automating your shipping labels with Make.com and Templated will turn this repetitive task into an automated process.
This will not only save you time but also reduce errors and allow you to focus on strategic activities that push your business forward.
I have a free tool created too, for creating shipping labels.
You can also automate this by integrating Templated with tools like Zapier and n8n, or even programmatically for tailored solutions.
Looking to expand your automation capabilities? Check out the documentation to learn how to use Templated API for image and PDF automation.
And if you have any questions or need feedback, feel free to drop by our chat and say “Hi!” I’ll be happy to assist.
Additional Resources
Here are some automation tutorials we built that may help you automate your social campaigns.
Automate Certificate Generation using Make
How to Automate Quotes Image Generation using n8n & Templated
How to Programatically Generate Images for Your Emails using Templated & Make