· Tutorial · 8 min read
Automate Certificate Generation with Google Forms
Easily automate certificate generation using Google Forms and Google Sheets—save time, reduce errors, and streamline the process in just a few steps!

If you’re a course creator, coach, educator, or run any kind of training program, you know the pain of creating certificates manually.
Typing out names. Double-checking every detail. Wasting hours on a process that should be simple.
It’s tedious. It’s repetitive. And it slows you down.
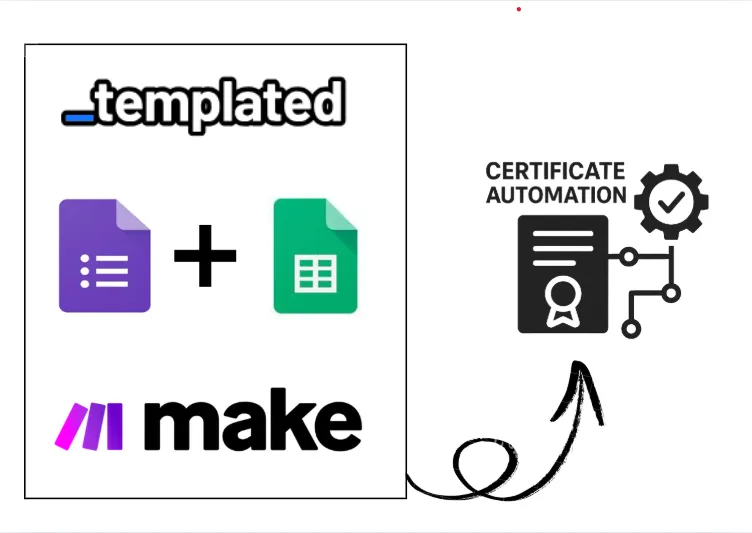
That’s why, in this tutorial, I will show you how to automate certificate generation using Google Forms — using a sample setup I created for a fictional institute called Growth Loop (a digital marketing institute).
Moreover, at the end. You’ll also get a complete blueprint to follow, making the whole process faster, easier, and way less stressful.
Let’s get started.
What You’ll Need?
- Account on Templated (Image Generation API).
- Account on Make.com
- Google account for creating a Google Form and a Google Spreadsheet.
Step 1: Create Your Google Form
Start by setting up a simple Google Form to collect the details you’ll need for the certificate. Keep it clean and only ask for the essentials:
- Student’s full name (Short answer)
- Professional training or course name (Dropdown or multiple choice)
- Completion date, if you want to include it on the certificate (Optional)

Once your form is ready, you can share it with your students through your website, course portal, or any student group (like WhatsApp, Facebook, or Telegram). Anywhere they can easily access and fill it out after completing their course.
Step 2: Get Your API Key and Choose Your Certificate Design on Templated
First, head over to Templated website and sign up for a free account.
Templated is one of the best image generation APIs that lets you create dynamic certificates and graphics automatically, perfect for setting up hands-free automations like this. In the free account, you can generate 50 certificates. You can upgrade to the paid plan, which gives you the option to create more certificates.
Once you’re in, go to the API Integration section in your dashboard. Here, you’ll find your unique API key, copy it and keep it handy. We’ll need it later when we set up the automation inside Make.com.

Now, let’s move to the fun part — picking your certificate design.
Go to the Certificate Template Gallery and explore the available certificate designs.
Pick one you like — Templated has a drag-and-drop editor (like Canva), so it’s super easy to tweak designs to match your brand.
You can upload your logo, adjust text, move elements around — whatever you need.
If you already have a custom certificate design you created somewhere else (like Canva), you can upload it too, but just know that uploading your file requires a paid account upgrade.
For now, to keep it simple (and free), we’ll stick to one of the templates provided by Templated. Honestly, we’ve got pretty good certificate templates already. 😉
Once you choose your certificate, click Customize Template.

This will open the Templated editor (see screenshot below for a visual guide 👇).

Inside the editor, you’ll see a __Layers __panel on the left-hand side.
This is where you can decide which parts of the certificate should automatically update based on each student’s form response.
For automation, focus on:
The __ student’s full name__ — so each certificate feels personalized The course type — pulling the specific training the student completed In my example, I automated these two fields to keep the process smooth and hands-free.
Other parts of the certificate, like the description text and the representative’s name or signature area, I edited manually inside the template to match the program details.
These don’t change per student, so there’s no need to automate them.
You’ll see exactly how this setup looks in the screenshot ☝️.
Pro tip: You can rename the layers (like “StudentName” or “CourseName”) for easier mapping when you set up the automation later in Make.com. It can save you a lot of confusion later on!
Step 3: Build Your Scenario in Make.com
First, log in to Make.com. Once you’re inside the dashboard, head over to Scenarios and click Create a new scenario.

This is where all the automation magic is going to happen.
First Module: Google Forms
The first step is to connect your Google Form, the one where students submit their details. Every time a student fills out the form, their response will be captured, and you’ll use that information to automate the certificate generation.
You can set it up to run daily, weekly, or even trigger it right after each new submission, so certificates get created automatically without you lifting a finger. Pretty cool, right?
Here’s how to set up this module:
- First, give your scenario a clear name (something like “Certificate Automation”).
- Click on the + button inside your scenario and search for Google Forms.
- Select Watch Responses from the options.

Now, fill out the module settings:
- Under Connection, link your Google account if you haven’t already.
- For the Form ID, you’ll need the unique ID from your Google Form.
- To find it, open your Google Form, and grab the long string of characters from the URL between /d/ and /edit.
- Paste that into the Form ID field.
- Set the Limit (how many responses it should pull each time it runs). Keeping it at 10 is fine for now.
- Once you’re done, click Save.
(Check out the screenshot above 👆 to see exactly how it should look).

Second Module: Templated — Create a Render (image or PDF).
Now it’s time to connect Templated — the tool that will create the certificates for you.
Here’s how to set up this module:
- Click on the + button inside your scenario and search for Templated.
- Select Create a Render (image or PDF).
- Under Connection, link your Templated account using your API key.
- In the Template ID field, select the certificate template you chose earlier (for me, it’s “GrowthLoop”).

You can leave the Webhook URL blank for now. For Format, stick with JPG (the default setting), unless you specifically need a PDF version.
Now comes the important part: mapping the dynamic data into your certificate layers.

- When you click on a layer (like the student’s name), you’ll see a Layer Name and a field to insert the dynamic text.
- Open the response data from your Google Forms module on the left side.
You’ll notice the information is nested inside Answers → Name → textAnswers → answers → value.
Make sure you carefully select value from inside this nested path — that’s where the actual student’s name is stored.
Do the same for the course/training name:

- Find it inside Answers → Professional Training → textAnswers → answers → value.
- Map it to the corresponding text field layer in your certificate. This way, when a student submits their form, their name and course will automatically appear on the certificate in the right spots — no manual editing needed!
Once you’ve mapped the layers correctly, hit Save.
Third Module: Google Sheets (Add a Row)
To keep a record of all the certificates generated, let’s set up a simple Google Sheet.
First, prepare your sheet with two columns:
- Name
- Certificate Image URLs

Now back inside Make.com:
Click the + button to add a new module. Search for Google Sheets and select “Add a Row”.

Connect your Google account if you haven’t already.
Set the following:
Search Method: Search by Path Drive: My Drive Spreadsheet ID: Choose the spreadsheet you just created Sheet Name: Sheet1 (or whatever name you gave it)
Confirm that the Table contains headers that are set to Yes.
Now, time to fill in the blanks:

- For Name, map it from the Google Form response, select the student’s name from inside the nested array (Answers → Name → textAnswers → answers → value).
- For Certificate Image URLs, map it from the Templated module output, select Render URL (this is the link to the generated certificate).
- Once done, hit Save.
That’s it — now every time a certificate is generated, the student’s name and their certificate link will be neatly recorded in your sheet for tracking or sending later.

- Inside your scenario, go to the first module (Google Forms — Watch Responses).
- Right-click on it and choose Run this module only or Choose where to start (depending on what options you see).
- Select From the start — this tells Make.com to pick up all existing form responses.
- Now, click on the big Run once button at the bottom right of your scenario.
Give it a few seconds.
Make.com will pull the responses from your Google Form, generate the certificates through Templated, and log everything neatly into your Google Sheet.
You’ll see a real-time progress bar as the scenario runs. Once it’s complete, you can head over to your Google Sheet.
There, you’ll find:
- The student’s name
- The certificate URL generated for them

To check if everything is working correctly, click on the certificate URLs in your Google Sheet.
Open them and verify that the certificates have been generated as expected.
You should see that the student’s and course names have been updated automatically.

Wrapping Up
You’ve just learned how to automate certificate generation step-by-step — using Google Forms, Make.com, and Templated.
✅ No more manual work
✅ No more endless edits
✅ Just fast, easy, professional certificates ready to go
To make it even easier, you can download the full blueprint here 👈
It’s a ready-to-use Make.com blueprint, just download it and import directly into your Make.com account to get started even faster.
If you prefer adding data directly into Google Sheets and automating accordingly, check out this guide on automating certificate generation with Google Sheets and Make.com.
Now it’s your turn — sign up on Templated, set up your automation, and see how simple it is to create certificates without lifting a finger.
Also, if you want to generate a few certificates, check out the free Templated certificate generation tool.
Give it a try — you’ll be amazed how much time you save!
Automate your content with Templated


